In this article, we explain the steps you need to take when you have already clicked on Reboot and Start and your scan has started on your computer but freezes before successfully completing all six steps of the scan.
Index:
Factory Upgrading your FixMeStick
Factory Upgrading your FixMeStick
Factory Upgrading your FixMeStick
You can tell that your scan has frozen if:
- The total number of files scanned is not increasing.
- The remaining time and the time elapsed freezes.
- In most cases, the cursor will also be frozen. You will not be able to move your mouse to exit FixMeStick.
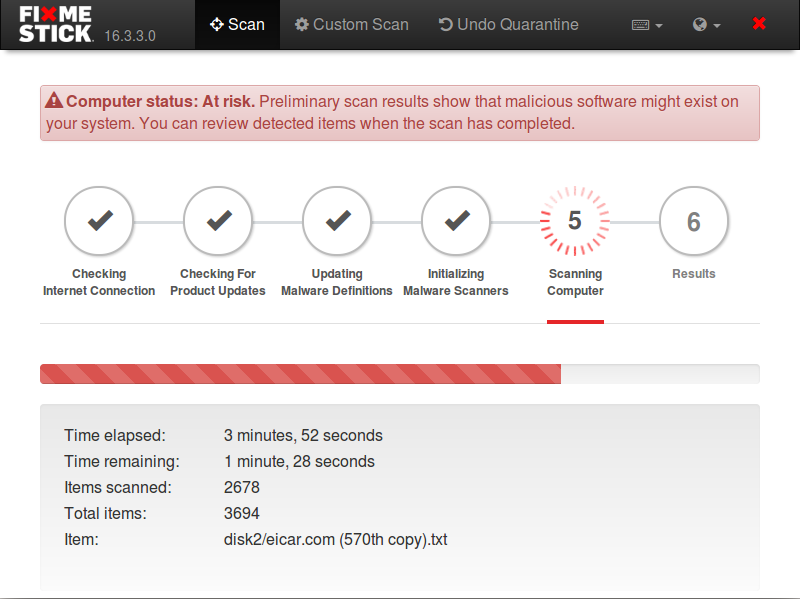
1. To determine if the scan is actually frozen:
- Try to move your cursor around the screen, or click with your mouse.
- Confirm if the circulating red dots around the current step have stopped moving.
- Verify if the total number of files scanned is increasing.
- Verify if remaining time and time elapsed are still changing.
2. What should you do:
- DO NOT TAKE THE FIXMESTICK OUT WHILE YOUR COMPUTER IS STILL ON.
- You will have to power off your PC by holding the power button of your computer for a couple of seconds. If your computer is a Desktop computer, you can also unplug the tower from the extension cord or wall.
- When the computer is off, your screen will not be displaying the scanning process anymore, it will become a black screen.
- Finally, once you have a black screen, you can remove the FixMeStick from the USB port.
There are different factors that could be causing the FixMeStick scan to freeze. We will have to troubleshoot to determine what is the exact cause but the scan will freeze if:
- Your computer does not have enough RAM (available space) to run FixMeStick.
- Your PC is overheating.
- The FixMeStick program is out of date. It is currently running on an outdated version of the software.
By default the FixMeStick will run a full system scan. Sometimes this can cause an issue with freezing if you have a large amount of files on your computer. A custom scan allows you to scan specific folders/disks.
1. Start your scan as you normally would. If you aren't sure of how to start your FixMeStick, click here.
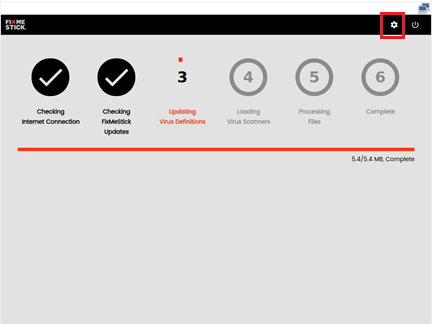
2. Once you've started a scan, click on the Settings icon at the top of the screen.
3. Click on Virus Scan, then select only 1 disk in the list of drives/folders. Then click on Apply.
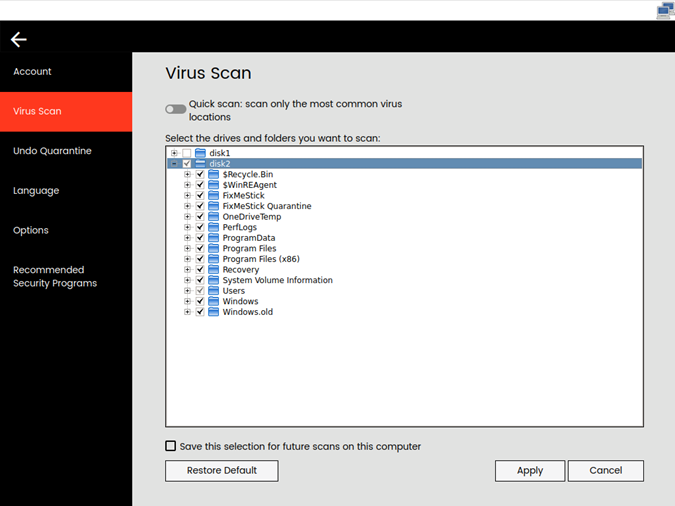
- Your FixMeStick will restart and scan only the disk you selected. Once the scan is complete, un-check the disk that was scanned then select the next disk and click Apply. Repeat for each disk.
- You can first verify if your PC is freezing up in a FixMeStick scan because it is running low on RAM.
- The FixMeStick can run with a minimum of 512MB but anything below 2000 MB can potentially cause issues. The ideal RAM amount to Run the FixMeStick is 2000 MB (or 2GB).
- If your PC is running low on RAM, you can run a disk clean-up on your computer by following the instructions below:
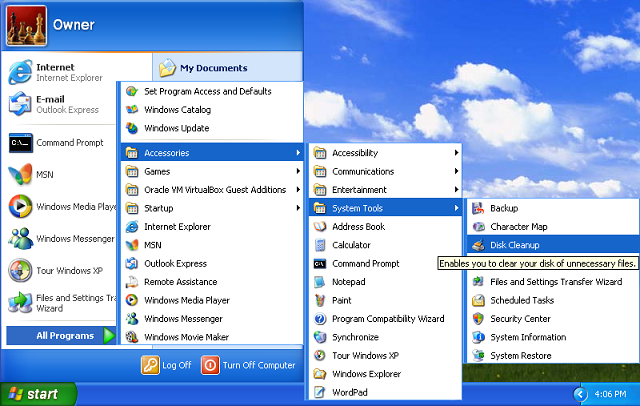
1. Left-click on the Start icon at the bottom left hand corner of your screen. Your start menu will appear.

2. Go to Start > All Programs > Accessories > System Tools > Disk Cleanup
3. Select your C: drive
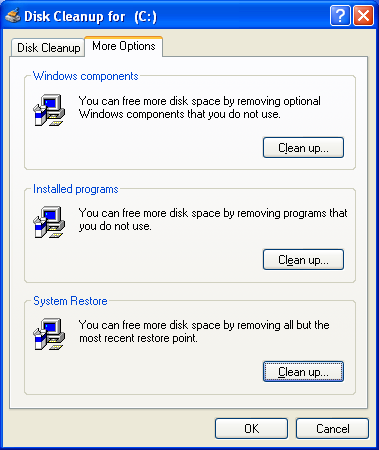
4. Make sure everything is checked off, then go to the More Options tab.
5. Under the More Options tab, click on Clean Up beside System Restore.
6. Confirm that you want to run the disk clean-up by clicking Yes on the window that will appear.
7. Once the disk clean-up is complete, you should be able to run a successful scan.
- If your scan freezes after running a disk clean-up, continue to the next step.
Unfortunately, there is no workaround for an overheating computer other than keeping it cool. You can try these tips for preventing your computer from overheating:
- The PC is not on the floor or on the carpet
- The fans are not blocked
- It is well ventilated
- Dust is removed from the PC
Factory Upgrading Your FixMeStick
You can update your FixMeStick if the scan is freezing because of an outdated program on your FixMeStick. In order to update the software program on your device, you will have to run a Factory Upgrade of your FixMeStick by following the instructions below:
1. Power your PC back on to return to Windows. Plug your FixMeStick back in. If you get a message to format your FixMeStick, please click here.
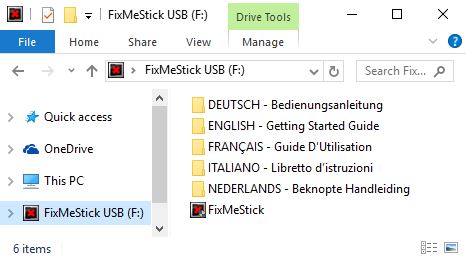
2. Run the FixMeStick application (Left click on FixMeStick USB, and then double-click on FixMeStick). If you can't find the FixMeStick USB, click here.
3. Click on the Settings link at the top right hand corner of the window.
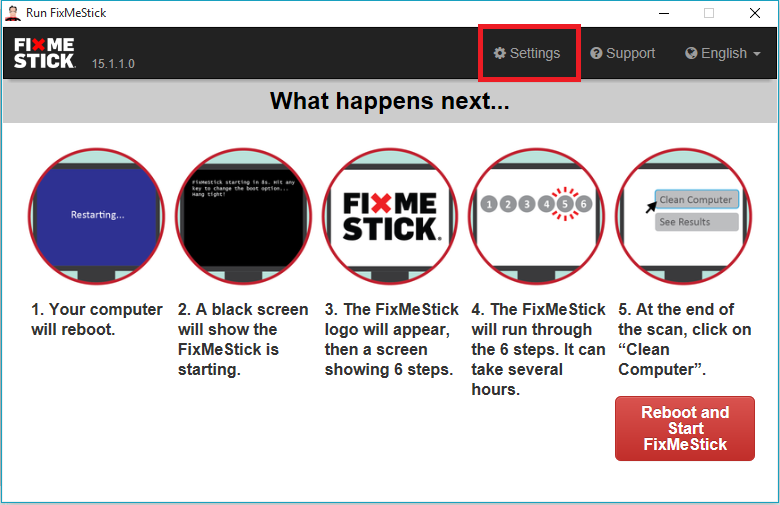
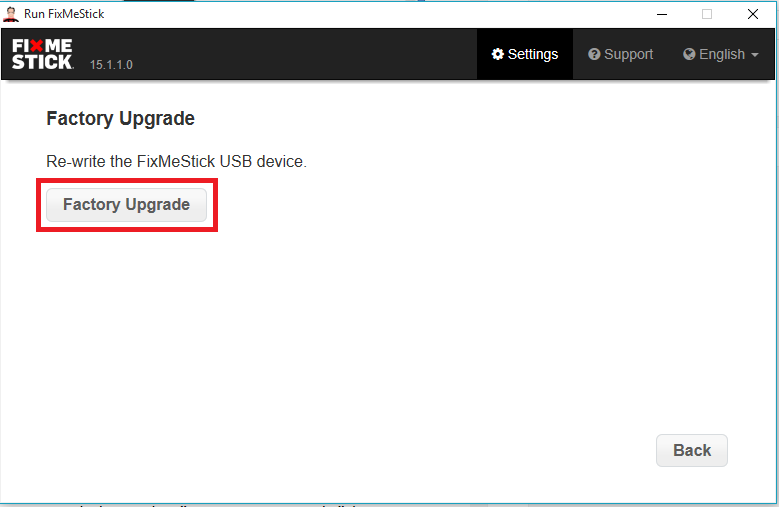
4. Click on the Factory Upgrade button.
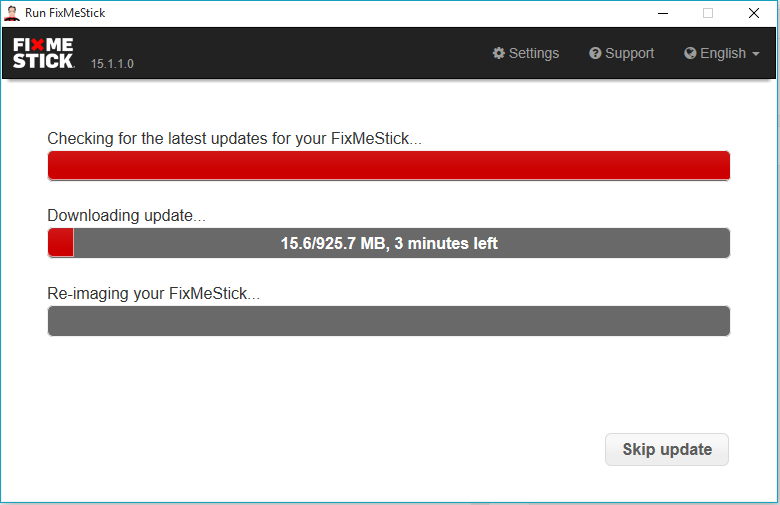
5. Once you click on the Factory Upgrade button your FixMeStick will proceed to download the latest version and then begin to re-image your FixMeStick. If the update page disappears immediately, it likely did not go through. In that case, click here.
6. Once the re-imaging stage is complete, your FixMeStick is now ready to use. You can click on Reboot and Start FixMeStick again to get the scan started.
- If Your FixMeStick scan is still freezing after this process, please contact customer support.
1. Click Start
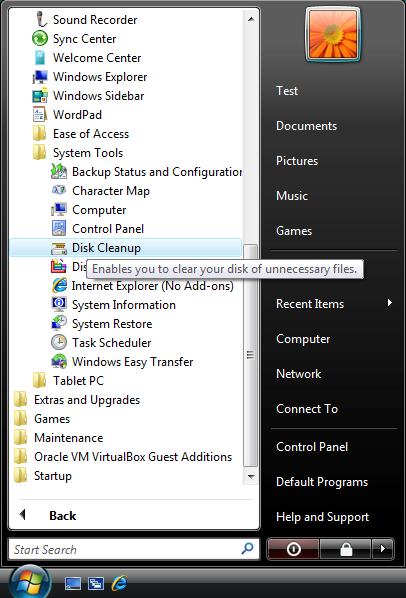
2. Go to All Programs > Accessories > System Tools
3. Click Disk Cleanup
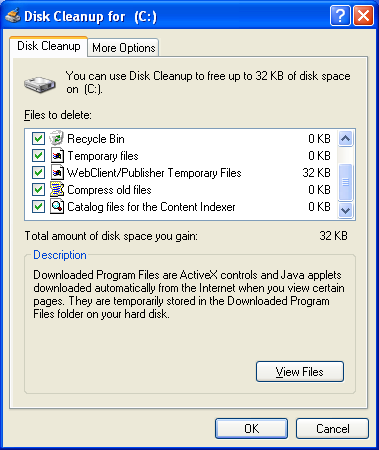
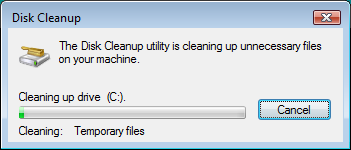
- A window will appear similar to the one below:

4. Select all of the items in the list, then click the More Options tab.

5. Select Clean-up beside System Restore.
6. You will be prompted to confirm your choice, select Delete
- Wait for the disk clean-up to finish
- Once the disk clean-up is complete, you should be able to run a successful scan.
- If your scan freezes after running a disk clean-up, continue to the next step.
Unfortunately, there is no workaround for an overheating computer other than keeping it cool. You can try these tips for preventing your computer from overheating:
- The PC is not on the floor or on the carpet
- The fans are not blocked
- It is well ventilated
- Dust is removed from the PC
Factory Upgrading Your FixMeStick
You can update your FixMeStick if the scan is freezing because of an outdated program on your FixMeStick. In order to update the software program on your device, you will have to run a Factory Upgrade of your FixMeStick by following the instructions below:
1. Power your PC back on to return to Windows. Plug your FixMeStick back in. If you get a message to format your FixMeStick, please click here.
2. Run the FixMeStick application (Left click on FixMeStick USB, and then double-click on FixMeStick).If you can't find the FixMeStick application, click here.
3. Click on the Settings link at the top right hand corner of the window.
4. Click on the Factory Upgrade button.
- Once you click on the Factory Upgrade button your FixMeStick will proceed to download the latest version and then begin to re-image your FixMeStick. If the update page disappears immediately, it likely did not go through. In that case, click here.
- Once the re-imaging stage is complete, your FixMeStick is now ready to use. You can click on Reboot and Start FixMeStick again to get the scan started.
- If Your FixMeStick scan is still freezing after this process, please contact customer support.
1. Click Settings > Click Control Panel > Administrative Tools
2. Click Disk Cleanup
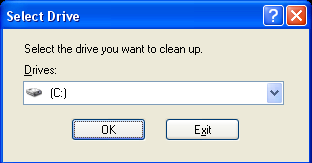
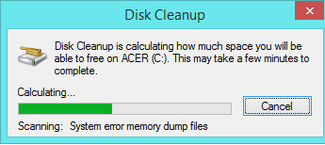
3. At the Drives list, select which drive you want to run Disk Cleanup on.

- Disk Cleanup will calculate how much space can be freed up.
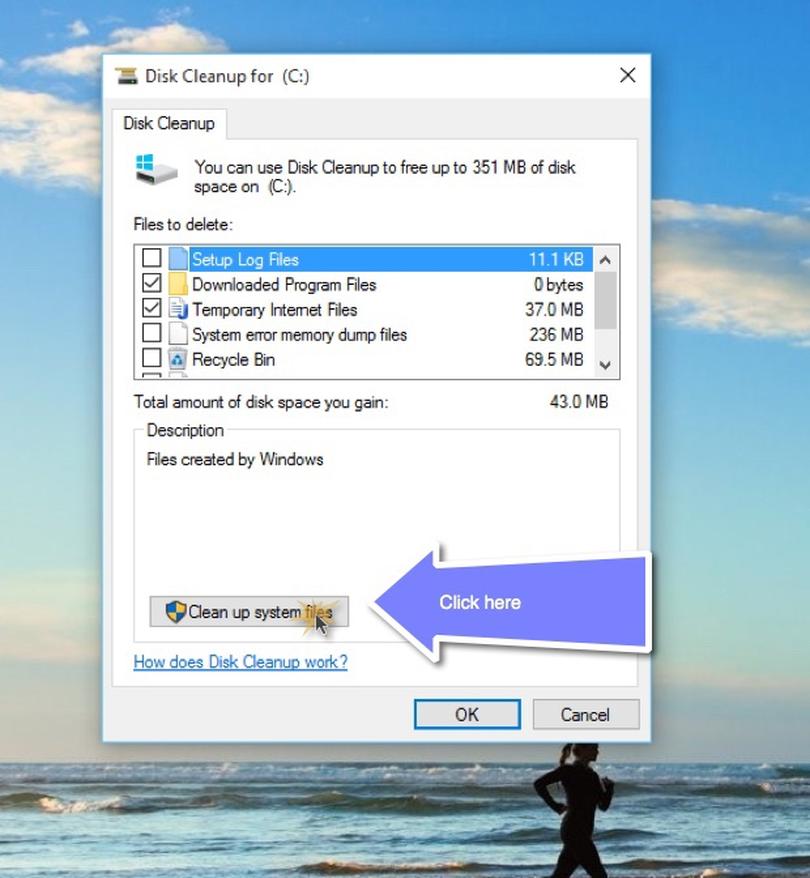
4. Select which files you want to delete.
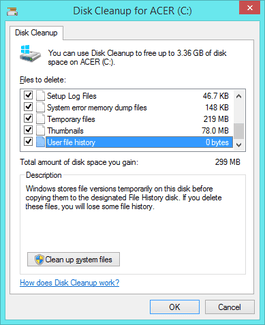
5. Click Clean up system files
- Once the disk cleanup is complete, you should be able to run another scan without the computer freezing.
- If your scan still freezes after a disk cleanup, continue with the next step.
Unfortunately, there is no workaround for an overheating computer other than keeping it cool. You can try these tips for preventing your computer from overheating:
- The PC is not on the floor or on the carpet
- The fans are not blocked
- It is well ventilated
- Dust is removed from the PC
Factory Upgrading Your FixMeStick
You can update your FixMeStick if the scan is freezing because of an outdated program on your FixMeStick. In order to update the software program on your device, you will have to run a Factory Upgrade of your FixMeStick by following the instructions below:
1. Power your PC back on to return to Windows. Plug your FixMeStick back in. If you get a message to format your FixMeStick, please click here.
2. Run the FixMeStick application (Left click on FixMeStick USB, and then double-click on FixMeStick). If you can't find the FixMeStick application, click here.
3. Click on the Settings link at the top right hand corner of the window.
4. Click on the Factory Upgrade button.
5. Once you click on the Factory Upgrade button your FixMeStick will proceed to download the latest version and then begin to re-image your FixMeStick. If the update page disappears immediately, it likely did not go through. In that case, click here.
6. Once the re-imaging stage is complete, your FixMeStick is now ready to use. You can click on Reboot and Start FixMeStick again to get the scan started.
- If Your FixMeStick scan is still freezing after this process, please contact customer support.
1. Type Disk Cleanup in the Search Bar

2. Press Enter. The Disk Cleanup will begin to calculate how much space can be freed up.
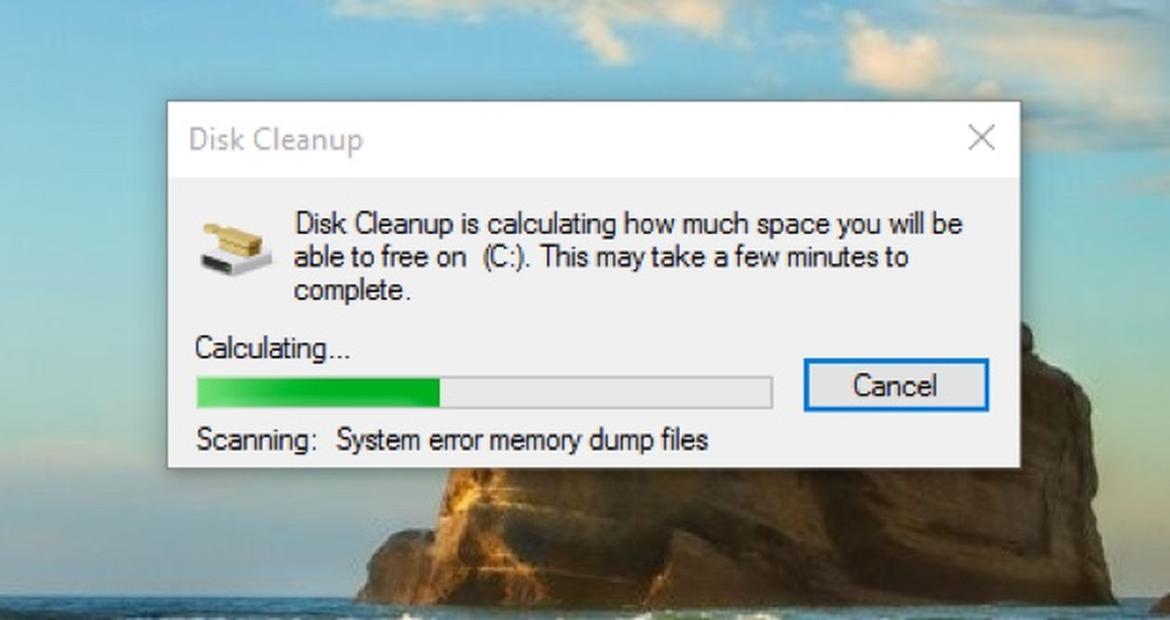
3. At the Drives list, select which drive you want to run Disk Cleanup on.
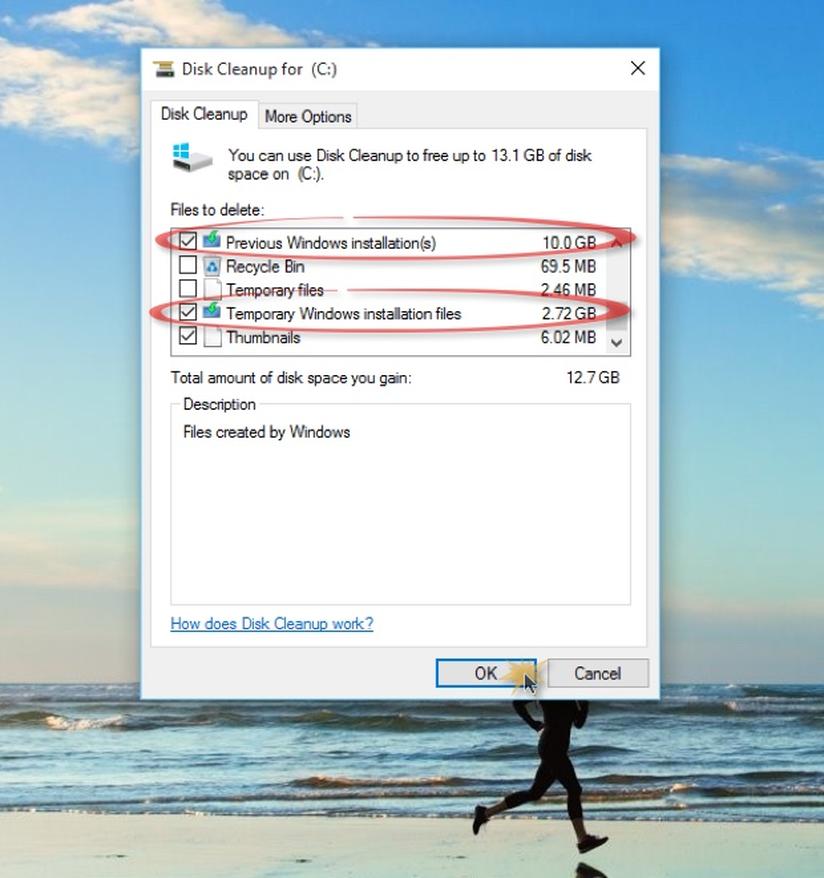
4. Select which files you want to delete.
5. Click OK.
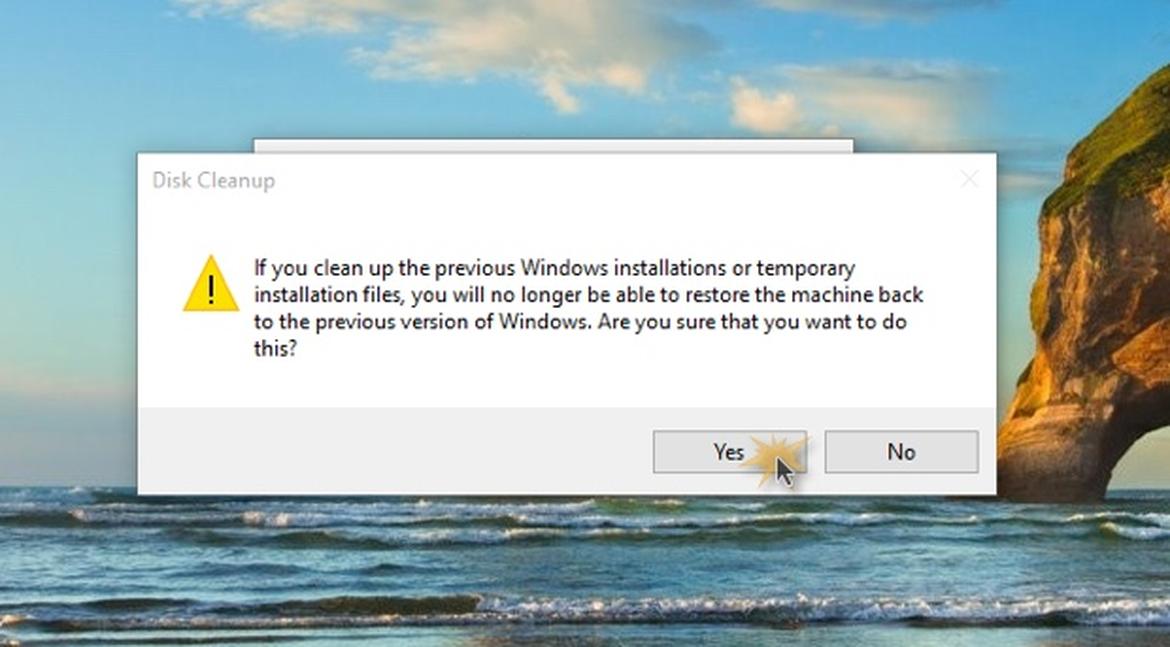
- Click Delete files.

- Once the disk cleanup is complete, you should be able to run another scan without the computer freezing.
- If your scan still freezes after a disk cleanup, continue with the next step.
Unfortunately, there is no workaround for an overheating computer other than keeping it cool. You can try these tips for preventing your computer from overheating:
- The PC is not on the floor or on the carpet
- The fans are not blocked
- It is well ventilated
- Dust is removed from the PC
Factory Upgrading your FixMeStick
In order to update the software program on your device, you will have to run a Factory Upgrade of your FixMeStick by following the instructions below:
1. Power your PC back on to return to Windows. Plug your FixMeStick back in. If you get a message to format your FixMeStick, please click here.
2. Run the FixMeStick application (Left click on FixMeStick USB, and then Double left click on FixMeStick). If you can't find the FixMeStick application, click here.
3. Click on the Settings link at the top right hand corner of the window.
4. Click on the Factory Upgrade button.
- Once you click on the Factory Upgrade button your FixMeStick will proceed to download the latest version and then begin to re-image your FixMeStick. If the update page disappears immediately, it likely did not go through. In that case, click here.
- Once the re-imaging stage is complete, your FixMeStick is now ready to use. You can click on Reboot and Start FixMeStick again to get the scan started.
- If Your FixMeStick scan is still freezing after this process, please contact customer support.